Configure proxy on iPhone is one of the important steps to protect privacy and optimize your web surfing experience. Because configuring a Proxy will allow users to hide their IP addresses to secure personal information when using public Wifi networks, and easily access blocked websites. Together Hidemyacc Learn how to simply install through the detailed instructions in the article below!
1. What is Configuring Proxy on iPhone?
Whenever you connect to large internal Wifi networks such as businesses or schools, you should use the Proxy server configuration on your iPhone. Simply put, the traffic you spend to access the Internet will be transferred to the Proxy you configured before.
You can absolutely use the Proxy provided by the organization you are working or studying at. In addition, using a Proxy also helps you change your IP address and allow access to blocked foreign websites. However, this is not the best choice if your aim is towards higher security or access to a lot of restricted content.

At this point, you probably have a better understanding What is configuring Proxy on iPhone? Next, we invite you to explore the benefits that Proxy can bring.
2. Benefits of using Proxy for iPhone
For many people, especially those who are doing it MMO, the use of Proxy is key to protecting privacy and controlling network access. Properly setting up a Proxy not only makes you safer when surfing the web, but also makes it easier to manage multiple accounts, opening up many opportunities to access restricted content. The following are practical benefits when configuring Proxy on iPhone that you can refer to:
-
Enhance security: Proxies help protect your IP address from tracking and attacks by hackers. Furthermore, you can also change the Proxy to avoid IP information being disclosed, helping to browse the web more privately and safely.
-
Overcoming geographical barriers: When you configure a Proxy server located in another country, you can "trick" the server system and thereby access content only available in that country.
-
Install web filter: Schools and offices can use Proxy servers to block access to inappropriate websites, ensuring a safer online environment. This not only helps prevent potential security breaches, but also reduces the risk of important data leaks.
- Traffic Balancing: Proxy servers will help organizations optimize network performance, reduce the risk of overload, and maintain stability even during traffic spikes or high activity.
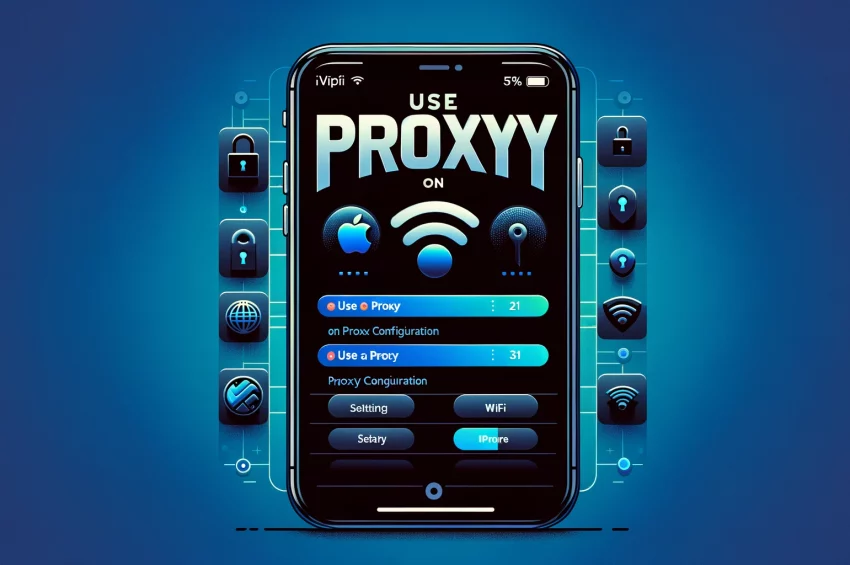
3. Instructions for installing Proxy configuration on Iphone
After understanding clearly What is configuring Proxy on iPhone? and the benefits it brings, below are detailed instructions for installing Proxy on iPhone. Please fully apply these steps for successful setup:
-
Step 1:
Open the Settings app and select Wifi. At the Wifi network your device is connected to (with a blue check mark on the network name), double-tap it. When the screen changes to the new interface (there are options like "Forget this network", "Automatically connect"...), scroll down until you see "HTTP Proxy Options" or "Configure Proxy image".
-
Step 2:
Normally in "Default" mode, the Proxy settings are usually left in the "Off" state, meaning that when connected to Wi-Fi, your phone does not use Proxy. To enable Proxy auto-discovery, simply switch from "Off" to "Auto." At this time, your iPhone will check whether using a Proxy on this Wifi network is necessary or not and automatically adjust the Proxy settings accordingly.
This method is commonly used in business and school networks. However, if the Wifi network you are connected to does not provide Proxy information via the WPAD protocol, your device will not use Proxy even if "Auto" mode is selected.
-
Step 3:
To use the PAC file - automatic Proxy configuration script, you need to select the "Automatic" option and enter the full address of the PAC file in the URL field. Once completed, your device will use this script to automatically configure the Proxy instead of relying on WPAD.
When you connect to the network, you may or may not see the address of the PAC file, depending on your administrator's decision whether to require you to use an automated script.
-
Step 4:
If you want to configure the Proxy manually instead of automatically, select “Manual.” Then, enter the address of the Proxy server in the "Network server" section and enter the port number in the "Port port" section. This information will be fully provided by the Proxy service provider.
If the server asks you to enter a username and password, don't worry, because the provider will also provide this information. You just need to enter and validate to complete the configuration.

